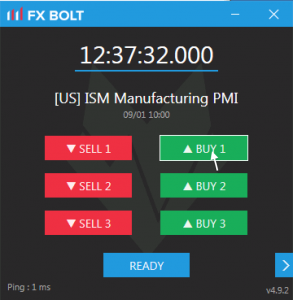
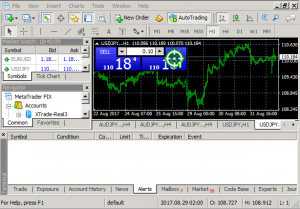
In order to set a Buy or a Sell Trigger, first select the Trigger you would like to define. We will use BUY 1 to illustrate this with an example:

If you click on BUY 1, you enable the BUY 1 Trigger setup.
In the next step, you hover with your mouse over to the order entry window, and once you reach the buy area of that window, you click “s” on your keyboard. Then hover over to the next order entry window of another broker, (or same broker but another instrument) and click “s” again once you are above the buy button. You can do this with as many order entry windows as you like.

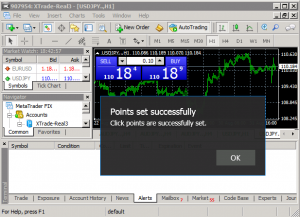
Once you finished, click “f” on your keyboard followed by “enter” (or manually click on OK).

In order to set the other Trigger Buttons (BUY 2, BUY 3, SELL 1, SELL 2, SELL 3), repeat the procedure: click SELL 2 for example, then hover over to the sell button of your order entry window and click “s”, then ”f” on the keyboard. If you would like to link more terminals to a trigger level, simply click the button again. You can link unlimited terminals to each trigger level. If you made a mistake and would like to erase the clicks, press the “c” button on your keyboard. In order to show or hide your clicks, press the “a” button.
BUY 3 and SELL 3 are the most conservative trigger with the lowest trade probability. BUY 1 and SELL 1 are the most aggressive trigger and have a high chance of being hit.
In the default settings, higher Triggers will activate lower BUY/SELL commands. For example, if you have a BUY1 connected to your terminal it will also be activated if BUY2 and BUY3 are triggered.
If you would like to change this, check the box for ‘independent triggers’ in the Settings.